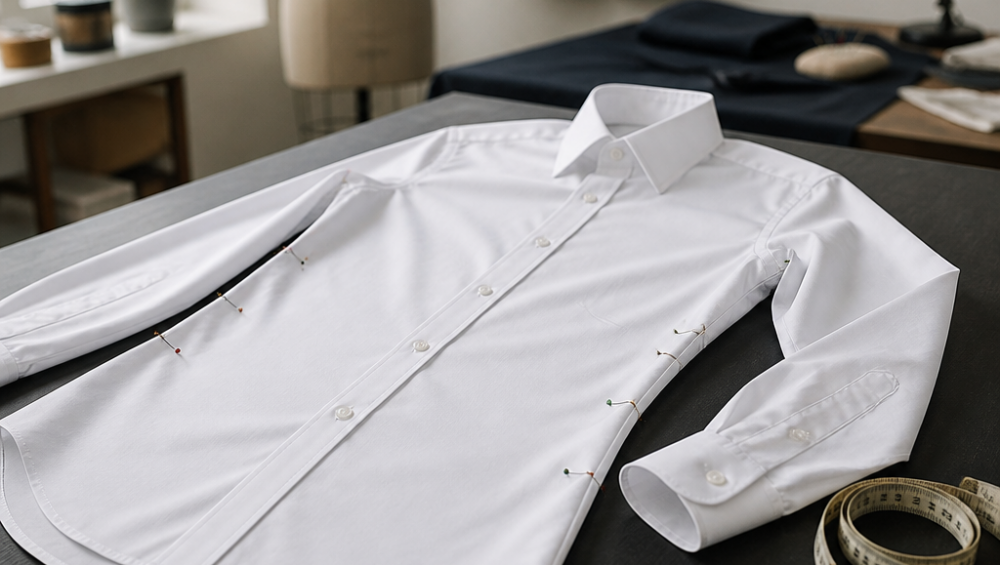
A dress shirt that gapes at the waist or bunches under the arms looks cheap, no matter how good the fabric is. Plenty of people who wear tailored shirts buy a size that fits the shoulders and then live with extra fabric everywhere else. Dress shirt alterations can fix that for a fraction of the cost of a new shirt, and the most useful fixes are simpler than most people expect. This guide walks through how a professional approaches a slimmer, more polished fit, from the side seams to the sleeves, and where the work should stop.
Table of Contents
- Quick Takeaways
- Measuring Before You Mark
- Taking In the Side Seams
- Shortening Shirt Sleeves
- Tapering the Back and Waist
- Comparing Common Slimming Fixes
- Pressing, Stitching, and Finish Work
- When a Shirt Cannot Be Slimmed
- Frequently Asked Questions
- References
Quick Takeaways
| Key Insight | Explanation |
|---|---|
| Fit the shoulders first | Side seams can slim the torso and sleeves, but a shoulder seam that sits down the upper arm means the shirt is the wrong size. |
| Start at the side seams | Taking in the side seams is the most effective torso fix because it keeps the button line and collar balanced. |
| Pin front and back equally | Unless the wearer has a noticeably broad back, split the taking in evenly so the new seam stays centered under the arm. |
| Shorten sleeves at the cuff | Most sleeve length changes happen at the cuff, which leaves the original armhole and shoulder seam untouched. |
| Taper gradually | A seam that jumps from a small take-in to a large one within a few inches will ripple and look homemade. |
| Know where to stop | If the chest or shoulders have no spare room, taking in further will pull the buttons and fabric, so stop there. |
Measuring Before You Mark
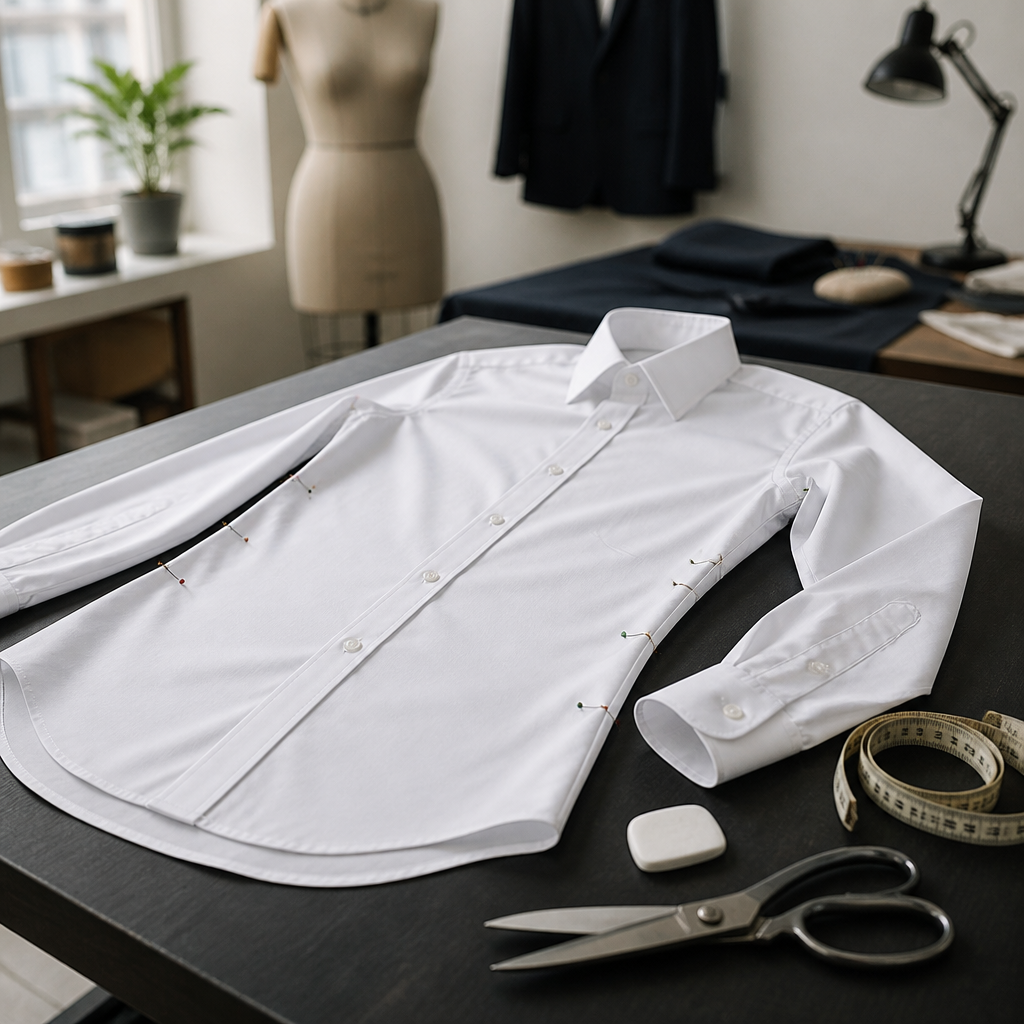
Before any fabric gets pinned, the shirt has to fit the shoulders and chest. A side seam can slim the body and sleeves, but it cannot move a shoulder seam that sits past the arm bone or pull a collar back into place. Start with an honest look at what the shirt can and cannot do, because that decides every step that follows.
Check the Shoulders and Chest First
If the shoulder seam hangs down the upper arm, the shirt is too big in the shoulder and no amount of taking in will make it look right. The seam should sit at the edge of the shoulder bone with the sleeve falling straight from it. Shoulders are the one area where a seam change rarely solves the problem.
Next, button the shirt and check the chest. Horizontal pull lines running out from the buttons mean there is no spare room, so any work should happen below the armpit where the extra fabric usually collects. A chest that pulls is a signal to stop, not to push further.
Find Where the Excess Actually Sits
Most loose dress shirts carry extra fabric in three places: the side panels under the arms, the back below the shoulder blades, and the sleeves below the bicep. The side panels are where most people should start, because they are the easiest area to correct and the least likely to change how the shirt hangs. We ask the wearer to put the shirt on tucked, with the undershirt they normally wear, and then pinch the extra fabric to see how much there is.
Look in the mirror from the side as well as the front. Gaping at the waist when the shirt is tucked usually points to the side seams, while fabric bunching below the belt at the back often means the back needs a small taper. Fixing one area without checking the others is how shirts end up looking worse than they did before.
Pro tip: Bring the undershirt and the belt you plan to wear with the shirt. Both add visible bulk, and a seam set without them can pull once the shirt is worn for real.
Taking In the Side Seams
Side seam taking in does most of the work in a slimming job. The principle is simple: remove the same amount of fabric from the front and back panels, so the new seam sits in the center of the body. The execution takes patience, and it is where most homemade attempts go wrong.
Pinning the New Seam Line
Have the wearer stand in the shirt, then pinch the excess fabric under the arm, keeping the front and back balanced. Place the pins pointing down toward the floor, and make sure the line runs straight from the armpit to the hem. The new seam should not drift forward toward the front or back of the body.
Check the button line after every few pins. If the placket leans to one side or the collar rotates, you have pulled too much from one panel. Pin gradually, because a seam that jumps quickly from a small amount of take-in to a large one will ripple across the fabric and show the first time the shirt is worn.
Sewing and Trimming the Seam
Once the pins look right, have the wearer raise both arms, reach forward, and sit down. Fabric that looks fine standing can pull badly in these positions, and it is far easier to fix at the pinning stage than after sewing. Mark the stitching line with chalk or basting thread so the final seam follows the adjustment you approved.
Sew a straight seam, then trim the excess seam allowance close to the stitching while leaving enough to prevent fraying. Finish the raw edge with an overlock stitch or zigzag if the fabric frays easily. On fine cotton and poplin, this step matters, because thinner fabric shows every raw edge through the shirt.
A well-slimmed shirt does not look smaller. It looks like it was cut for the person wearing it, and that is the standard every side seam should meet.
Shortening Shirt Sleeves
Sleeve length is often a bigger problem than body width. A sleeve that is too long makes even a well-fitted shirt look borrowed, and it is one of the cheapest things to correct. The work is precise, but it does not need to be complicated.
Measuring the Right Length at the Wrist
A dress shirt sleeve should end at the wrist bone, with a small amount of cuff showing below a suit jacket sleeve when the arms hang relaxed. If the cuff slides over the back of the hand, the shirt will look too big even when everything else fits. Use this as the target rather than a general number from a size chart.
To measure, have the wearer relax the arm slightly bent, then mark the desired length on the inside of the sleeve with chalk or a fabric marker. Mark both sleeves, because arms are rarely exactly the same length. Check the marks against the jacket the shirt will be worn under.
Working With the Cuff
Shortening at the cuff is the standard approach because it keeps the original armhole and sleeve cap intact. The cuff is opened, the sleeve is shortened by the marked amount, and the cuff is reattached with the original buttonhole placement. A sleeve alteration should never move the shoulder seam, so be wary of any shop that proposes shortening from the top.
Some shirts have French cuffs, double layers, or decorative stitching that need extra care. These cuffs take more time, and the finish may look slightly different if the original construction is complex. Check the cuff type before the work starts, so the price and timing match what you are getting.
Pro tip: Ask for the sleeve to be checked with the jacket you plan to wear over the shirt. A cuff that looks right alone can show too much or too little under a jacket sleeve.
Tapering the Back and Waist
Side seams handle most slimming jobs, but some shirts need more shape in the back. A shirt that fits the chest can still be wide across the lower back, which creates a boxy silhouette that side seams cannot fully resolve. Tapering the back is a finishing adjustment, and it should be handled with care.
When Side Seams Are Not Enough
When the back is the issue, a center back seam or a set of back darts can remove fabric exactly where the body narrows. This is more precise than widening the taking in at the sides, which can throw the front placket off center. It is especially useful for shirts worn tucked, where extra back fabric bunches at the belt.
Be careful here, because back alterations change how the shirt sits across the shoulders. Taking in the back too much can pull the yoke and make the collar lift at the rear. Treat the back as a second step after the side seams, and only do it when the first step has been checked.
Balancing Taper Without Losing Room to Move
The goal is a shirt that looks trim standing still and still lets the wearer lift an arm. That means keeping enough room in the chest and across the back for everyday movement. If the wearer reaches for a bag and the shirt pulls across the back, the taper has gone too far.
A quick test is to have the wearer raise both arms overhead, then reach forward. Look for pulling lines that radiate from the armholes and buttons, because they show where the fabric has no give. Those lines should guide whether more fabric can come out, and when the answer is no, leave the shirt as it is.
Comparing Common Slimming Fixes
Three approaches cover most dress shirt slimming requests, and each suits a different problem. The right choice depends on where the excess sits, how much needs to come out, and whether the shirt is worth the work. In our shop, side seams are the default, and the other two options come in when the shirt’s construction calls for them.
The table below compares them from the practical side of the work, including the trade-off you should expect. If you are unsure which applies to your shirt, a professional alteration fitting at Stitch It can show you the options on the garment itself.
| Approach | Best For | Trade-off |
|---|---|---|
| Side seam taking in | A loose torso with a balanced chest and back | Limited by the seam allowance, and too much take-in pulls the placket off center |
| Back darts or center back taper | A boxy back or extra fabric below the shoulder blades | Changes the yoke and shoulder balance, so it needs careful fitting |
| Buying a slim-cut shirt in the right size, then altering the length | Shirts that are right in the shoulders but too long in the sleeve | Requires a new purchase, but the body usually needs little or no work |
Side seams are cheaper and faster, but they have a ceiling. Once the seam allowance is used up, the only real alternative is a different size or cut.
Pressing, Stitching, and Finish Work
A good alteration can still look wrong if the stitching and pressing do not match the original shirt. Dress shirts are built with fine stitching and small seam allowances, so the finish has to be just as careful. These details decide whether anyone notices the work at normal conversation distance.
Matching the Original Stitch
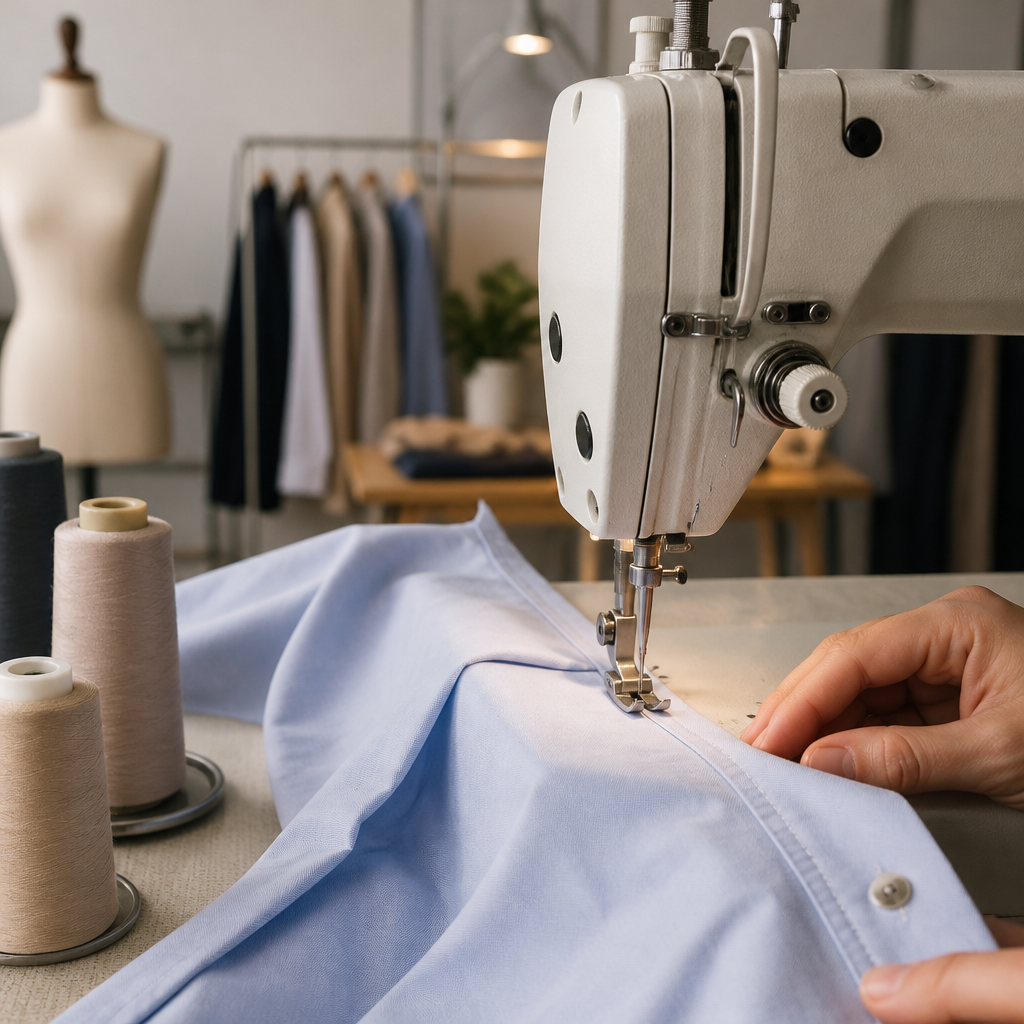
Dress shirts are usually sewn with a fine straight stitch, and matching the stitch length and thread weight keeps the new seam nearly invisible. A heavy topstitch or a thread that is a shade off will show up on a light shirt. Use a thread color that matches the shirt rather than the closest match in a generic kit.
Set the machine to a shorter stitch than you would use for casual wear, and backstitch at the beginning and end of each seam. Armholes and side seams take the most strain, so a weak start or finish there tends to pop first. On a shirt you wear every week, those few stitches decide how long the alteration lasts.
Pressing Without Shine
Press from the wrong side with a press cloth, especially on cotton and cotton blends. Direct heat on the right side can leave a shine on darker fabrics that looks worse than the original fit problem. Press seams open or to one side, following the original construction, so the taken-in seam lies flat.
Pro tip: Hang the shirt on a proper hanger after pressing instead of folding it. A fresh crease along a new seam can show through a light shirt and look like a second mistake.
When a Shirt Cannot Be Slimmed
Some shirts are beyond the reach of a clean alteration, and it is better to say so than to force a result. If the shoulder seam sits past the shoulder, the collar stands away from the neck, or the chest gapes when the wearer relaxes, the fit problem is structural. Forcing a slim look in these shirts usually produces something that looks worse than a well-fitting larger size.
Shoulder Seams and Sleeve Caps
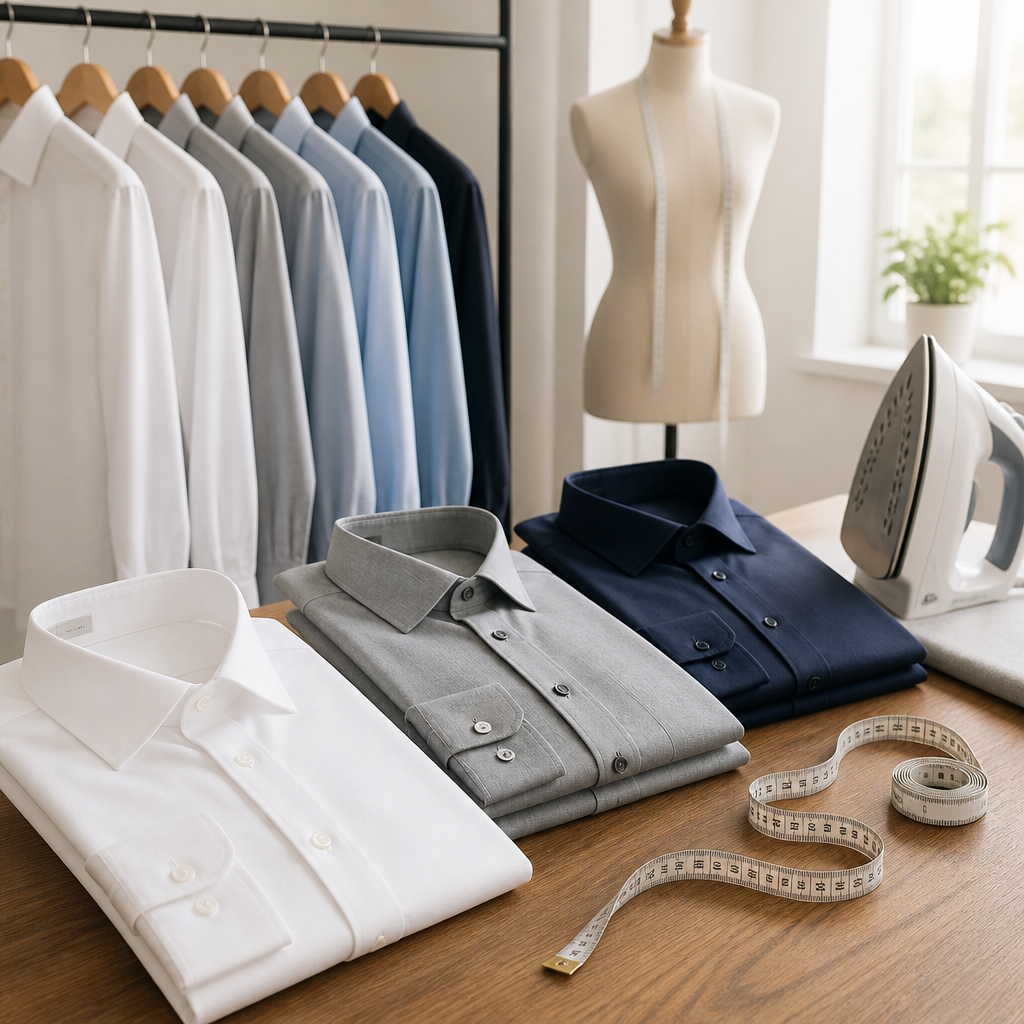
The shoulder seam and sleeve cap are difficult to move without re-cutting the armhole. A sleeve cap that is too full can be eased slightly, but any larger change starts to distort the shoulder line. If the shoulders are wrong, a different size is almost always the better path.
Watch for sleeve caps that wrinkle toward the front when the arms move. This is a sign the armhole was cut for a different body shape, and no seam change fixes the underlying cut.
Fabric Limits and Seam Allowance
Every shirt has a finite seam allowance. Once it is used up, further taking in leaves the seam too close to the edge, where it can fray or pull through. Thinner weaves also show stress marks where earlier alterations were made, so a shirt that has already been altered needs a careful assessment before more work.
Fabric also matters. Stiff, heavily finished shirts hold a crease and may show a new seam line for longer, while soft lightweight cotton responds better to fine adjustments. If you own a shirt that feels stiff and boxy, the fabric may be part of the problem.
Frequently Asked Questions
Can a dress shirt be taken in more than once?
Sometimes, but each round uses up seam allowance and can leave visible stress lines. If the side seams have already been altered, a second round is usually a poor choice. A length or cuff adjustment often does more for the overall look than more torso work.
How much does professional dress shirt alteration cost?
Pricing depends on the garment and the work involved. Stitch It offers transparent, upfront pricing, with hems starting from $14.89, so ask for a quote before you drop the shirt off.
Does Stitch It guarantee the fit after alterations?
Stitch It offers a 30-Day Fit Guarantee on its alteration work. Ask about the terms when you drop off the garment so you know exactly what the guarantee covers.
Can a shirt be slimmed through the chest?
Usually not, at least not without affecting the armholes, buttons, and shoulder balance. Chest adjustments have very little room to work, which is why checking the fit before choosing a method matters so much.
How long do dress shirt alterations take?
Simple side seam and sleeve work is often finished the same day, and Stitch It offers same-day and rush services for walk-in customers. Shirts with complex cuffs or delicate fabric can take longer, so confirm the timing when you order.
What has your experience been with slimming a dress shirt, whether you did the work yourself or brought it to a tailor?