Thrift store finds often have a great fabric and a great cut, then fail on one thing: the fit. A 1970s wool blazer that hangs off the shoulders or a 1950s dress that pulls across the bust can look like a bargain on the rack and a disappointment at home. Many of the vintage pieces brought to our counter need thrift store alterations rather than a trip back to the donation bin. Most fit problems are fixable, but only if you know which ones a tailor can solve and which ones will cost more than the garment is worth.
Table of Contents
- Why Thrifted Fits Fail So Often
- What a Tailor Can and Cannot Change
- Vintage Sizing and Measuring Before You Buy
- Fabric and Construction Checks at the Rack
- Pricing, Timing and Planning Your Alterations
- Mistakes That Ruin a Good Find
- Frequently Asked Questions
- References
Why Thrifted Fits Fail So Often
Vintage garments were cut for different bodies, posture and undergarments than the ones most people wear today. Shoulders were often narrower, torsos were sometimes shorter, and waists were cut to sit at a specific point. A garment can be in perfect condition and still feel wrong the moment you put it on.
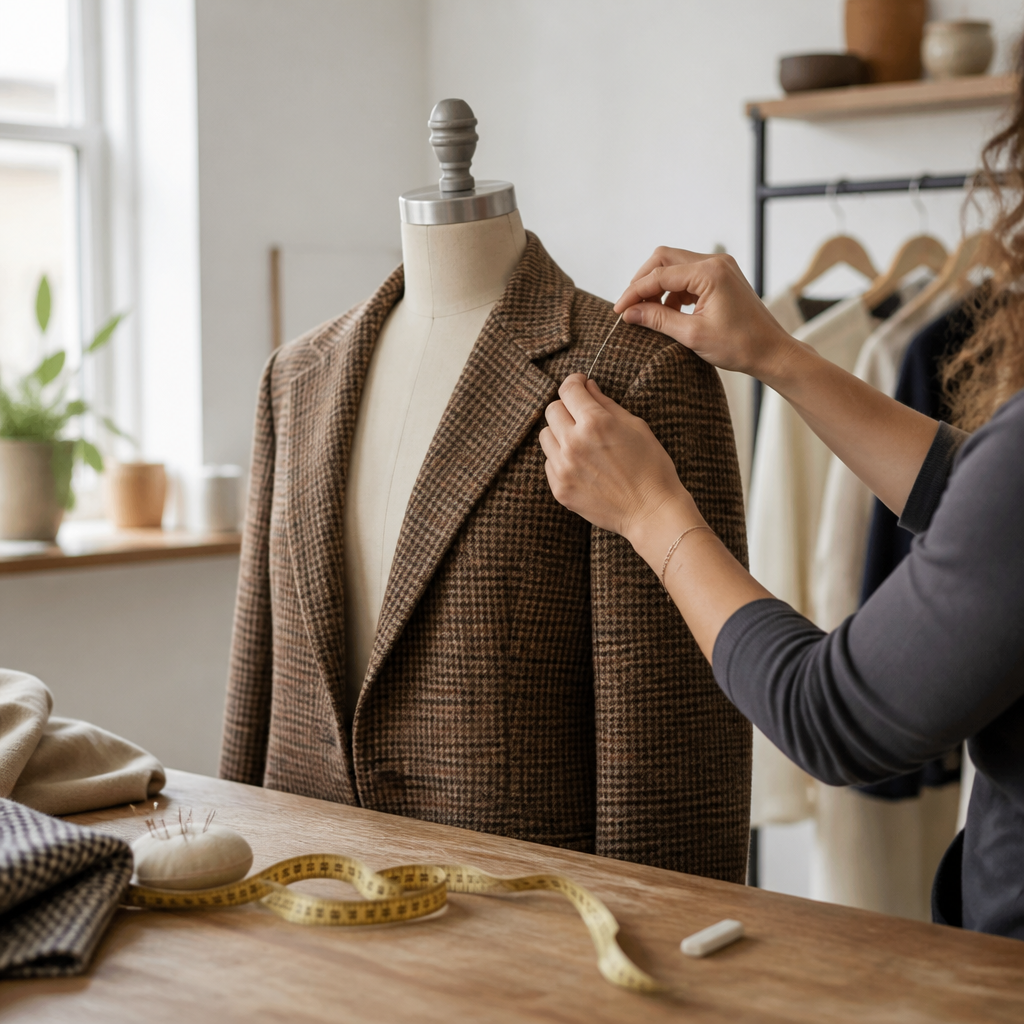
In practice, most thrifted fit problems fall into three groups. The garment is too big in the shoulders, too tight across the bust or hip, or the right width but the wrong length. Each group has a different repair path, and mixing them up is where people lose money.
The Three Fit Problems That Show Up Most
Shoulders that sit wide or droop are the most common complaint with vintage jackets and coats. Once a shoulder seam has been set into an armhole, it is difficult to take in without distorting the sleeve and collar. A tailor can sometimes pad or reshape the area, but a severe mismatch usually means the piece is not a candidate for the job.
Tight fits through the bust, waist or hip are often easier to address, as long as the garment has enough seam allowance. Many vintage makers left generous seams for exactly this reason, but some later alterations have already used them up. Look at the inside before you decide how much room is left.
What a Tailor Can and Cannot Change
The honest answer is that a tailor can change more than most people expect, provided the repair works with the original construction. The problem is that thrifters often bring in a piece hoping for a transformation that the garment was never built to allow. Knowing the limits before you pay for a fitting saves time for both sides of the counter.
Hems, Sleeves and Length Changes
Hems and sleeve lengths are the most reliable alterations on vintage clothing. Many pieces have a visible hem line or a band of unfaded fabric that shows where the length was previously set, which gives a tailor a clear starting point.
One caution: old hems sometimes leave a crease or fabric line that does not come out completely. Before a hem is taken up or down, we check whether the original fold will show, because a visible line on a wool skirt or a vintage coat is hard to hide afterward.
Taking In or Letting Out the Body of a Garment
Side seams, darts and center back seams are where most of the real fit work happens. Taking in a side seam is straightforward when the seam allowance is wide enough, and a skilled tailor can often add a small amount of ease without changing the look of the piece. Letting out is more limited, because the allowance may be cut close or the fabric may show wear along the seam.
Waist reshaping is possible on many dresses and skirts, but it can alter the balance of a garment with a fitted bodice or a special pleat pattern. If the cut depends on a particular waistline, a change can flatten the design. That is the kind of decision a tailor should talk through before any scissors come out.
The best vintage alterations keep the original silhouette and fix the fit inside it. When the silhouette itself has to change, you are no longer altering the piece, you are remaking it.
Pro tip: Bring the garment with the shoes, bra and undergarments you plan to wear with it. Vintage fit depends on posture and layering, and a fitting done in bare clothes can miss the real problem.
Vintage Sizing and Measuring Before You Buy
Vintage size labels are unreliable as a guide to fit. Sizing systems changed over the decades, and a label that says medium may correspond to a very different body measurement than the modern size you wear. The only dependable approach is to measure the garment itself and compare those numbers to your own.
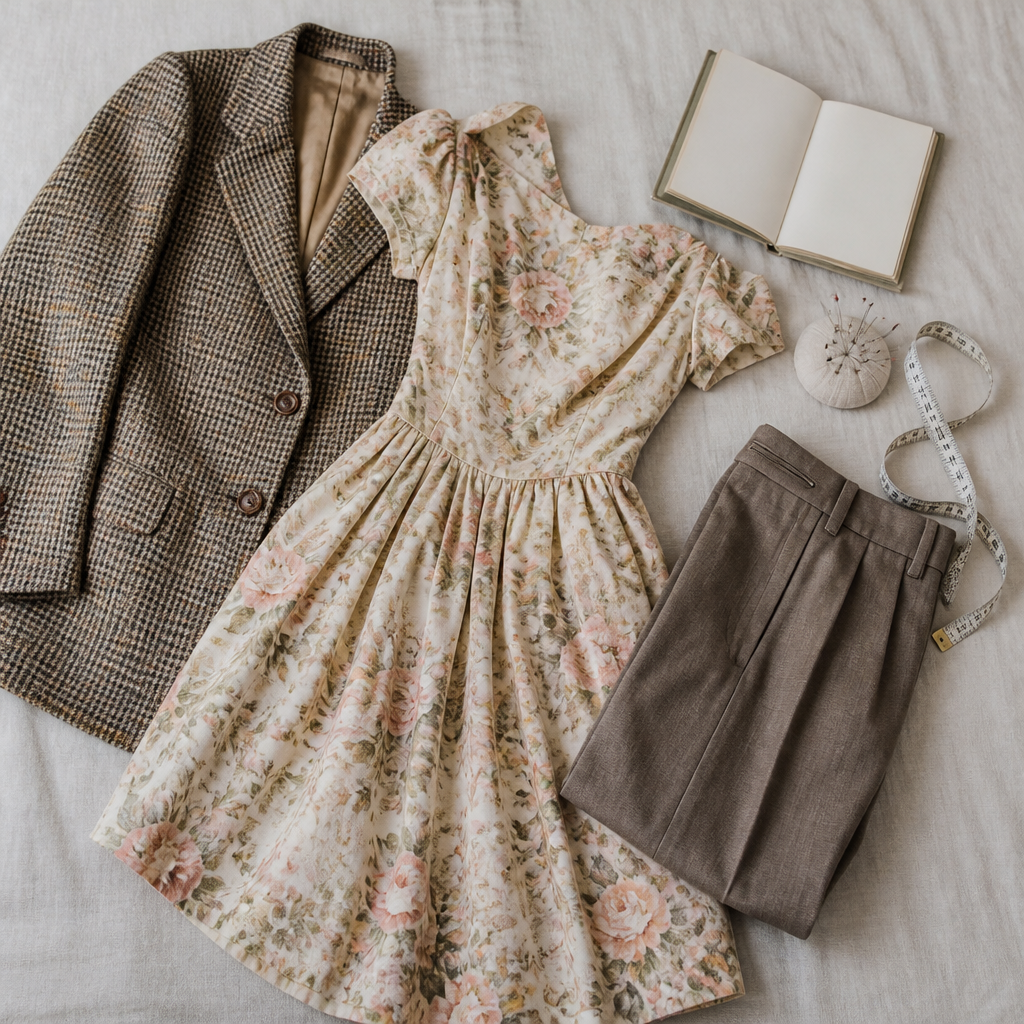
Measure the bust, waist, hip, shoulder width, sleeve length and garment length while the piece lies flat. Then compare those figures against your own body measurements, leaving room for the ease that the garment was designed to have. A jacket that measures a few centimetres smaller across the chest than your body may still be a candidate for a takeover, but a large mismatch means you should walk away.
Reading the Garment Before the Tag
Turn the piece inside out and look at the seams, lining and hem first. Original seams are often pressed flat with clean stitching, while later alterations tend to show uneven stitch lengths or extra thread ends. These marks tell you how many times the garment has been worked on and how much fabric is left to play with.
Measurements That Matter Most
Shoulder width is the measurement people forget, and it is the one that most often decides whether a vintage piece can be saved. Measure from the seam at one shoulder to the seam at the other, across the back. If that number is much wider or narrower than your shoulder width, the garment is a poor match, no matter what the bust measurement says.
Fabric and Construction Checks at the Rack
A good cut does not guarantee a good candidate for alteration. Fabric and construction decide how much handling a garment can take, and they are easy to check before you commit to a purchase. Spending two minutes on these checks can prevent a repair that ends in a torn seam or a scorched panel.
Fabrics That Need a Gentle Hand
Brittle wools, rayon, silk and some older synthetics react badly to heat, pins and repeated seam work. Rayon can lose its shape when it is pressed too hot, and older silk can tear along a seam that was stitched decades ago and never reinforced. We often advise customers to skip a piece entirely if the fabric is already splitting at a stress point.
Construction Details That Change the Job
Lined jackets, structured shoulders and pleated skirts are harder to alter than unlined, simply cut pieces. Lining has to be taken in or let out with the outer shell, and shoulder pads or interfacing have to be removed and replaced. These steps are skilled work, and they add to the price and the turnaround time.
Check for moth damage, odour and stains too. Moth holes or a musty smell can be treated, but they affect whether a garment should be altered at all, because some cleaning and pressing methods can set odours or stains further into the fabric.
Pricing, Timing and Planning Your Alterations
Vintage alterations are often priced as separate tasks. A hem is one charge, a side seam adjustment is another, and a lining rebuild can be a larger job than the rest combined. Asking for an itemized estimate before work begins is the simplest way to avoid surprises.
Setting a Budget Before the Fitting
Set a ceiling for the total cost of the piece, including alterations, before you bring it in. If the work will cost more than the garment is worth to you, the piece is better left on the rack. Stitch It publishes starting prices so you can estimate costs before you bring a piece in, which helps when you are comparing a few finds at once.
Timing Your Drop-Off
Plan alterations for a piece you need soon, and allow extra time for any fitting or fabric testing. Rush and same-day service are available for walk-ins on many standard repairs, but complex vintage work often needs more time than a simple hem. If you are preparing for a formal event or a holiday season, bring the piece in early so there is room for a second fitting.
Our 30-Day Fit Guarantee gives you a useful safety net on many alterations, but it does not replace a careful check before the first cut. The guarantee works best when the piece is a good candidate for the work in the first place.

Mistakes That Ruin a Good Find
The most common mistake is buying a piece in the hope that a tailor can fix a fit problem the garment was never built to accept. The second is skipping the inside inspection and discovering a weak seam or a damaged lining after the work has started. Both mistakes are avoidable with a few minutes of careful checking at the rack.
Another frequent error is cleaning a vintage piece before testing it. Dye can bleed, old finishes can dull, and some fabrics react to solvents in ways that cannot be reversed. Ask for a spot test on a hidden seam allowance first, and let the cleaner know the piece’s age and fabric content before anything goes into the machine.
Frequently Asked Questions
Can a tailor make a vintage dress bigger?
Sometimes. A tailor can often let out a dress if the seam allowance is wide enough and the fabric is in good condition. If the seams have been cut close or the fabric shows wear along them, the room to add size is limited, and some dresses cannot be enlarged without a visible change.
Does altering a vintage garment reduce its value?
It can, especially for collectible pieces where original construction and fit matter to buyers. For most everyday vintage clothing, a well-done alteration makes the garment more wearable, which is the main reason people buy it. If you are considering a rare piece, ask a specialist about its value before making permanent changes.
How do I measure a vintage garment before buying it?
Lay the piece flat and measure the bust, waist, hip, shoulder width, sleeve length and garment length. Compare those numbers to your own measurements and allow for the ease the garment was designed to have. Shoulder width is the measurement most likely to rule a piece out.
Should I clean a vintage piece before or after altering it?
Ask for a spot test first, then decide on the order. In many cases, alterations come first so the garment is fitted correctly, and cleaning follows once the final shape is set. Tell the cleaner and the tailor about the fabric and age of the piece before any work begins.
Have you rescued a thrifted piece with a tailor’s help? Share what worked, what did not, and which fit problem surprised you most in the comments.